WordPress Staging Environment: How to Test Before Going Live
What Is a WordPress Staging Environment?
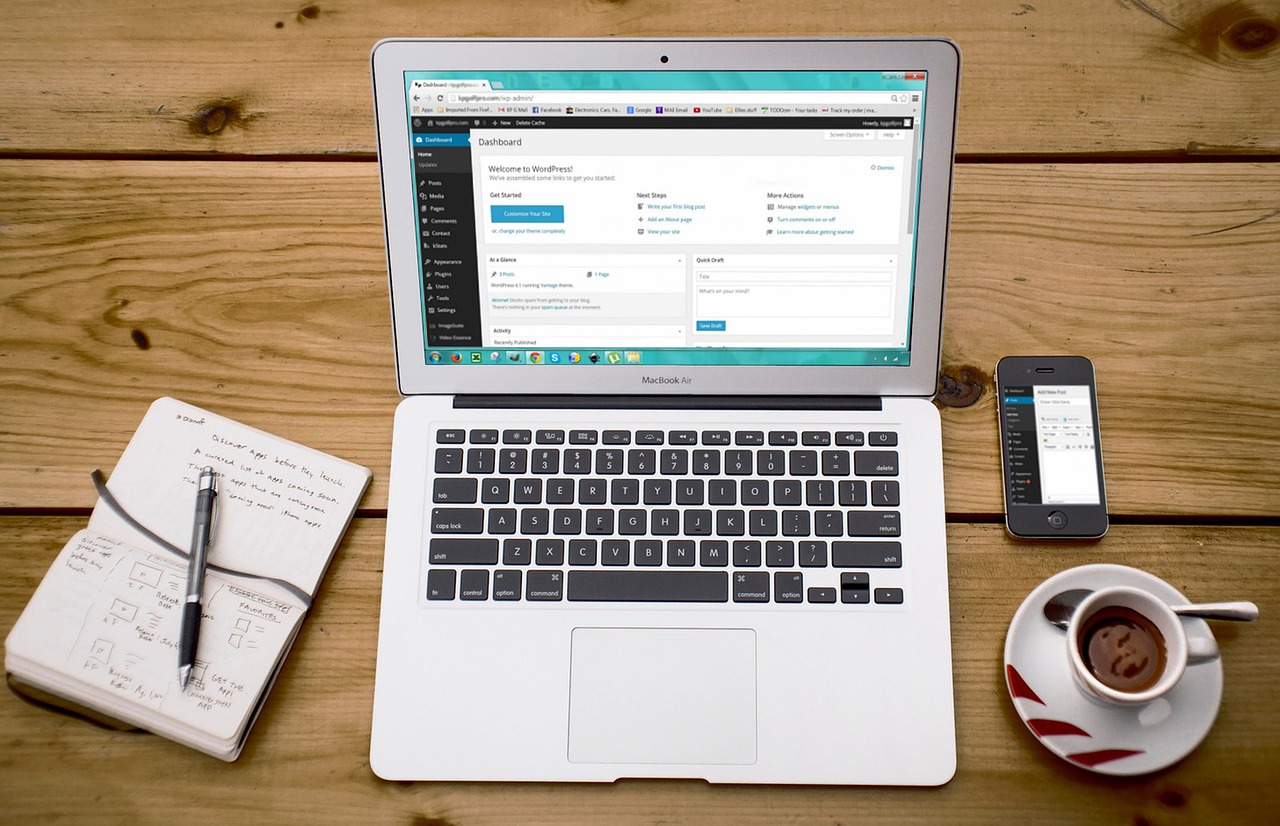
A WordPress staging environment is a private copy of your live website. When you set it up, you get an exact replica of your site’s files, database, themes, plugins, and content. The catch is that only you see it. Visitors keep using the original site while you can break things, test updates, and experiment freely in the staging copy.
This isn’t the same as a local development environment. A local environment runs on your computer using software like Local by Flywheel or XAMPP. A staging environment sits on a server and mimics your live hosting conditions. That distinction matters because server configuration, PHP memory limits, and caching behaviors can behave differently between your local machine and production. Staging surfaces those differences before they hit your live visitors.
For site managers and small business owners who aren’t developers, staging removes the fear of “what happens if this update breaks everything.” It gives you a safe sandbox where mistakes have no real consequences.

Why You Need a Staging Environment Before Going Live
Pushing changes directly to a live WordPress site is risky. Plugins and themes update frequently, and not every update is compatible with your particular setup. With a wordpress staging environment, you can verify compatibility before anything reaches your audience. The main reasons to use staging include:
- Prevent site-breaking errors. A single incompatible plugin update can trigger a white screen of death or a critical PHP error. Staging catches that sort of thing.
- Test design changes safely. Changing your homepage layout, adjusting CSS, or activating a new theme can break navigation or styling. You can preview and refine in staging first.
- Avoid downtime during updates. Major WordPress version upgrades sometimes cause conflicts with older plugins. Staging lets you test the upgrade end to end before committing.
- Verify form and checkout flows. If you use WooCommerce, Gravity Forms, or booking plugins, a broken form can cost you money. Staging makes sure those critical functions work.
- Reduce your anxiety. Knowing you have a safe testing ground changes how you approach updates. You stop dreading “update Tuesday” and start treating it like a controlled process.
For small business owners who cannot afford even an hour of downtime, staging is basically a standard safety measure.
Common Scenarios Where Staging Saves You
Here are a few real-world situations where a staging environment made the difference between a smooth week and a crisis:
- Upgrading from WordPress 5.x to 6.x. Major releases often deprecate old functions. A staging environment shows you which plugins break before you hit “update” on production.
- Updating WooCommerce during a sales period. Even minor WooCommerce updates can change cart behavior or break payment gateways. Testing in staging catches those issues without interrupting revenue.
- Redesigning your homepage. Changing page builders, rearranging blocks, or swapping hero images can cause layout problems on mobile. Staging lets you preview across devices without showing a half-finished site to visitors.
- Adding a new contact form or booking system. These plugins interact with email delivery, database writes, and redirects. If something misconfigures, leads disappear. Staging lets you confirm delivery works.
- Changing your hosting or migrating to a new server. Migrations introduce file path mismatches, database connection errors, and SSL issues. Staging lets you iron those out before pointing DNS.
Each scenario has one thing in common: the mistakes happen silently, and you only notice them when traffic drops or an order fails. Staging surfaces those problems early.
Method 1: Using a Staging Plugin (Best for Shared Hosting)
If your hosting provider does not offer built-in staging, a plugin is the easiest path. Tools like WP Staging or BlogVault let you clone your live site with a few clicks and set it up on a subdirectory or subdomain.
The workflow is pretty straightforward. Install the plugin, select what you want to copy (files, database, or both), and click the button to clone. The plugin creates a duplicate site at a URL like yoursite.com/staging. You log into that copy through the WordPress admin using a separate staging dashboard or by appending /wp-admin to the staging URL.
What these plugins do well: They simplify the process for non-technical users. You do not need FTP access or phpMyAdmin knowledge. The entire setup happens from the WordPress dashboard. Beginners who prefer a visual interface may find a WordPress staging plugin a decent starting point.
What to watch for: Staging plugins consume server resources. On shared hosting with limited memory, cloning a large site may timeout. Some plugins also have paid tiers for features like pushing changes back to production. If your host lacks staging, this is your best option, but be realistic about the performance hit.
Method 2: Using Your Hosting Provider’s Staging Feature
Mid-tier and premium WordPress hosts typically offer one-click staging from their control panel. SiteGround, WP Engine, Cloudways, and Flywheel all include this feature. It creates a full copy of your site on a temporary URL, often within seconds.

The main advantage is performance. Because the staging copy lives on the same server infrastructure as your live site, resource limits are higher and cloning speed is faster. Many hosts also handle the URL rewrite automatically, so you don’t end up with mixed content warnings.
Another benefit is push functionality. Some hosting panels let you push specific file changes or database updates back to live with a single button. This eliminates the complexity of manual merging.
Who should use this approach: Anyone who can afford a managed WordPress host that includes staging in the plan. The cost is higher than shared hosting, but the convenience and reliability make it worthwhile if you update your site frequently. If performance and ease of use matter more than saving a few dollars per month, this is the safer route.

Method 3: Manual Staging via Subdomain or cPanel
For developers who want full control, manual staging is an option. This involves creating a subdomain (staging.yoursite.com), exporting your live database through phpMyAdmin, importing it into the staging database, and manually copying files via FTP. You also need to update the wp-config.php file in the staging copy to point to the new database.
This method is error-prone. One wrong character in the wp-config.php file or an incomplete export can render the staging site inaccessible. You also have to handle URL replacement yourself, typically through a search-replace tool in phpMyAdmin, or risk mixed content errors that break styling.
When this makes sense: If you are a developer who already manages server configurations and prefers not to add another plugin to your stack. For site managers or business owners without technical depth, skip this method. The risk of breaking your database outweighs the benefit of saving a few minutes.
What to Test in Your Staging Environment
Creating a staging site is only half the process. The real value comes from knowing what to verify. Here is a practical checklist you can run every time you stage a change:
- Update all plugins and themes. Confirm no compatibility warnings appear. Check that update notifications clear after updating.
- Submit every form on the site. Test contact forms, newsletter signups, booking widgets, and checkout fields. Verify that submissions reach the intended email address or database table.
- Check page speed. Run a performance test using a tool like GTmetrix or Pingdom. Compare the staging score to the live site. A significant drop usually indicates a plugin conflict.
- Verify mobile responsiveness. Use browser developer tools to check the site at 375px, 768px, and 1024px widths. Look for broken menus, overlapping elements, or unreadable text.
- Run a broken link check. Use a plugin like Broken Link Checker or a manual scan through a tool. Staging sometimes introduces incorrect paths, especially if you changed permalinks or site URL during setup.
- Test critical user flows. If you run an ecommerce site, go through the entire purchase flow: add item, view cart, enter details, confirm payment. Test with test credentials. If you run a membership site, test registration, login, content access, and logout.
- Review SEO metadata. Confirm that your meta titles, descriptions, and canonical URLs are intact. The staging environment sometimes strips or modifies these.
Run this checklist every time you stage a change, not just the first time. Consistency catches regressions.
Common Staging Mistakes That Cause Problems
Staging is safe, but only if you use it correctly. These mistakes can defeat the purpose:
- Forgetting to update the staging URL. When you clone a site, the staging copy still references the live URL for media files and internal links. This can cause mixed content warnings and broken images. Most staging plugins handle this automatically; manual methods often do not.
- Testing on an outdated copy. If you create a staging site and then wait two weeks to test a change, the staging copy no longer reflects the live site. Plugins, posts, and user data diverge. Always create a fresh staging copy before testing.
- Ignoring database size. Sites with large databases take longer to clone and can exceed memory limits on cheap hosting. Check your database size before initiating a clone, especially if you use WooCommerce or a membership plugin with thousands of records.
- Not syncing media file changes. If you upload new images to the live site after creating your staging copy, the staging site will not have them. Push changes from live to staging periodically to keep them in sync.
The fix for all of these is discipline. Create a fresh staging copy each time you plan to test, and delete the old one to free server resources.
How to Push Staging Changes Live Safely
After testing, you need to move the changes to the live site. The approach depends on what changed and what tools you use.
- File-only changes. If you only modified theme files, CSS, or JavaScript, you can upload the changed files via FTP or use a push feature in your hosting panel. Do not overwrite plugins unless you changed them. Those who prefer a visual interface might consider a WordPress backup plugin for managing file transfers.
- Database changes. If you added new content, modified options, or updated plugin settings, you need to push the database. This is trickier because the live site likely accumulated new data (orders, comments, user registrations) while you were testing. Pushing the staging database overwrites that data.
- Plugin-based push. Plugins like WP Staging (premium version) and BlogVault offer push functionality that compares files and merges changes without overwriting the entire database. This reduces the risk of data loss.
- Full backup before push. Regardless of method, always take a full backup of both the live site and the staging site before initiating a push. Use a plugin like UpdraftPlus or your host’s built-in backup tool. If the push fails or introduces errors, you can restore quickly.
If you use a host with one-click push, that is the safest option. For plugin-based pushes, read the documentation carefully, especially around database merging rules.

Staging vs. Local Development: Which Should You Use?
Staging and local environments serve different purposes. Local development happens on your computer using software like Local by Flywheel, Laragon, or MAMP. It is fast, does not require an internet connection, and is ideal for building themes or plugins from scratch. However, local environments often use different PHP versions, database engines, and server configurations than your live site. Issues that look fine locally can break on production.
Staging sits on a server and mirrors the live environment more closely. It catches configuration mismatches that local testing misses. For most site managers, the recommended workflow is:
- Use local development for building custom code, testing new designs before showing anyone, and working offline.
- Use staging for the final round of testing before deployment, especially for plugin updates, database changes, and compatibility checks.
Both are valuable, but they are not interchangeable. If you can only set up one, staging gives you a closer approximation of real-world conditions.

Best Practices for Keeping Your Staging Site Secure
Because staging environments are often overlooked in security planning, they can become a target for attackers. Follow these practices:
- Password-protect the staging site. Use HTTP authentication or a plugin that restricts access to the staging URL. This prevents search engines and bots from crawling it.
- Disable search engine indexing. Log into the WordPress admin of your staging site, go to Settings > Reading, and check “Discourage search engines from indexing this site.” Also add a noindex meta tag if possible.
- Keep staging plugins updated. Staging plugins themselves can have vulnerabilities. Treat them like any other plugin and update when patches are available.
- Delete staging copies after testing. Do not leave orphaned staging sites running for months. They consume server resources and increase your attack surface. Once you finish testing and push changes, delete the staging copy.
These steps take about two minutes and can prevent a long list of potential problems.
Tools and Resources to Streamline Your Workflow
Having the right tools makes staging less tedious. Here are a few that have proven useful over time:
- WP Staging – A reliable plugin for shared hosting environments. The free version offers basic cloning and push functionality. The pro version adds database merges and faster performance.
- UpdraftPlus – A backup plugin that works well with staging workflows. Use it to take snapshots before and after staging pushes. If you need a reliable backup solution, explore an UpdraftPlus premium option for added features.
- BlogVault – A premium backup and staging plugin with good push capabilities. Useful for agencies managing multiple sites.
- Local by Flywheel – A solid local development tool for WordPress. Use it for building, then transfer to staging for final verification.
- Hosting with built-in staging – SiteGround GrowBig plans, WP Engine, and Cloudways all include staging without extra plugins. If you are choosing a new host, prioritize one that offers this feature. Those starting fresh might find a WordPress hosting guide helpful for comparing options.
Investing in one or two of these tools tends to pay for itself the first time it prevents a downtime event. Start with a backup plugin and a staging plugin, then upgrade your hosting when the budget allows.
Final Thoughts: Make Staging a Standard Part of Your Workflow
Staging environments remove guesswork from site management. They let you test updates, redesigns, and plugin changes without risking your live traffic or revenue. The setup process takes longer the first time, but after that it becomes a five-minute routine that you repeat before every significant change.
Choose the method that matches your technical comfort and hosting setup. For shared hosting users, a staging plugin is your entry point. For managed hosting users, use your host’s built-in feature. For developers, manual staging gives you full control, but accept the maintenance overhead.
Start testing safely today to avoid costly downtime. Set up a staging environment this week, run through the checklist, and make it a habit. Your site and your visitors will thank you.