WordPress Site Health Tool: What Each Test Means and How to Fix It
Where to Find the WordPress Site Health Tool
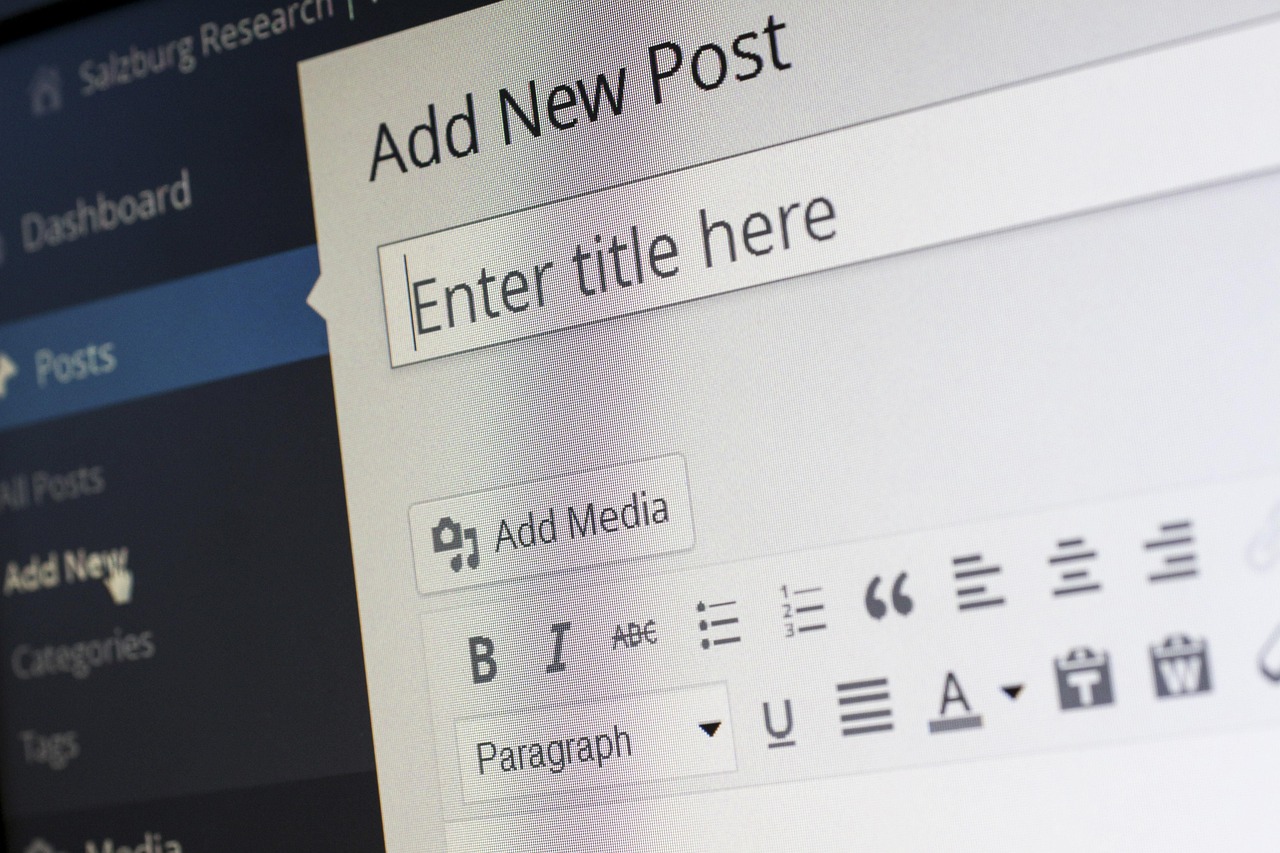
If you manage a WordPress site — whether it’s a small business website, a portfolio, or a client project — the WordPress Site Health tool is something you should know about. It lives right inside your dashboard. Go to Tools > Site Health. That’s it. No plugin required.
Once you’re there, you’ll see two tabs. The Status tab gives you an overall health score out of 100. It lists tests as passed, critical, or recommended. The Info tab shows detailed server configuration, WordPress settings, file paths, and active modules. Most people focus on Status, but Info is where you dig into root causes when something fails.
This guide walks through every test the WordPress Site Health tool runs. You’ll learn what each test checks, why it matters for your site’s security and performance, and what to do when something fails. No fluff, no hand-waving. Just practical fixes.

Understanding the Health Score: What a Passing Result Actually Means
The tool assigns a score out of 100. Green is good. Red is bad. But here’s the nuance: a passing score doesn’t mean your site is optimized. It means your environment meets WordPress’s minimum requirements. Think of it like passing a driving test — you’re legal to drive, but you’re not a professional racer.
A score of 80 might look great, but you could still have slow database queries, unoptimized images, or a bloated theme. Conversely, a score of 60 on a staging site might be perfectly fine. The tool checks for baseline compatibility, not peak performance.
Common tradeoff: if you’re running a legacy plugin that requires an older PHP version, you might see a failing PHP test. You have to decide — update the plugin, or accept the lower score. For a small blog that doesn’t process payments, you might deprioritize that fix. For an ecommerce site, it’s non-negotiable.
Bottom line: don’t panic over a low score. Understand what each test means, and prioritize fixes based on your site’s actual risks.
The Required Tests: What WordPress Checks by Default
WordPress runs several mandatory tests every time you visit the Site Health screen. Here’s what they are and why they matter.
- PHP Version: Checks if your server runs PHP 7.4 or higher. Below that, you’re vulnerable to security issues and plugin incompatibilities. Pass means you’re on a modern version.
- Database Server Version: Verifies MySQL 5.6+ or MariaDB 10.1+. Old databases slow down queries and expose you to exploits.
- Active Plugins: Counts how many plugins are active. No hard limit, but each plugin adds overhead. The tool flags excessive numbers.
- Active Theme: Confirms you have a valid, updated theme. An outdated theme can break your site.
- WordPress Version: Ensures you’re on the latest release. Outdated cores are a prime target for attacks.
Most of these are straightforward. The PHP version test is the one that trips people up most often, so let’s look at it in detail.
Critical Test: PHP Version — Why It’s Non-Negotiable
The PHP version test is the most important one in the tool. WordPress currently requires at least PHP 7.4, but many hosts now default to PHP 8.0 or 8.1. If your test shows a failure, here’s what’s at stake.
First, security. Older PHP versions (like 5.6 or 7.0) are no longer supported by the PHP team. That means no security patches. If a vulnerability is discovered, your site is exposed. Second, compatibility. Many modern plugins and themes simply don’t work on old PHP. You’ll see compatibility warnings, feature breakage, or outright crashes. Third, performance. PHP 8.x is significantly faster than 7.x. A simple version bump can improve page load times by 20-30%.
How to fix it: Most hosting providers offer a PHP switcher in their control panel. On SiteGround, it’s under ‘PHP Manager.’ On Kinsta, you can change it from the MyKinsta dashboard. If you’re on shared hosting, contact support. They can usually switch you to a newer version in minutes.
One caveat: if you’re stuck on an older PHP version because a legacy plugin doesn’t support PHP 8.x, don’t just update and hope. Test first. Use a staging environment to verify the plugin works. If it breaks, you have two options: find an alternative plugin, or keep the old PHP version on a locked-down server. For most sites, updating is the right call.
Best for: Hosts that offer easy PHP version switching — SiteGround, Kinsta, and WP Engine are reliable choices. Managed WordPress hosting often includes automatic PHP updates, which means one less thing to worry about.

Critical Test: Database Server Version
This test checks your MySQL or MariaDB version. Outdated versions can slow down database queries, which directly affects page load times, especially on dynamic sites. Security is also a concern — old database servers have known vulnerabilities.
The good news: most hosts handle database updates automatically. If this test fails, it’s usually a sign that your host is running an old server stack. In that case, contact them and ask for an upgrade. There’s very little you can do from the WordPress dashboard itself.
If your test passes, great. If it fails, the fix is almost always a support ticket. This test is less actionable than the PHP version check, but it’s still worth monitoring.

The Loopback Request Test: What It Is and Why It Fails
This is one of the most misunderstood tests. The loopback request simulates a REST API call from your own site back to itself. WordPress uses this for several critical functions: checking for updates, running scheduled tasks (cron jobs), and testing the REST API is working.
When the loopback fails, it means WordPress can’t reliably perform background operations. The most common cause is a security plugin blocking the request. Plugins like Wordfence, Sucuri, or iThemes Security sometimes block the loopback because it looks like a suspicious local request. Other causes include outdated cache plugins, server timeouts, or a misconfigured .htaccess file.
Troubleshooting steps:
- Temporarily disable your security plugin. Run the Site Health test again. If it passes, add an exception for the loopback URL.
- Flush your permalinks. Go to Settings > Permalinks and click ‘Save Changes’ without changing anything. This refreshes rewrite rules.
- Check your
.htaccessfile for blocks. Look for lines that deny access from local IPs. - If nothing works, contact your host. They can check server-level issues like timeouts.
A failing loopback can break the Site Health tool itself, so this is a priority fix. Don’t ignore it.
Plugin and Theme Tests: Active, Inactive, and Updates
The Site Health tool checks for outdated plugins, plugins with known vulnerabilities, and themes that need updates. It also flags if you have too many active plugins, though the threshold varies. The tool doesn’t give a hard number, but if you’re running 40+ active plugins, expect a warning.
Practical advice:
- Deactivate and delete unused plugins. Even inactive plugins can leave code snippets that slow down your site. Remove them entirely.
- Update everything regularly. I know, updates can break things. That’s why you use a staging environment. Run updates there first, then push to production.
- Use a child theme for customizations. If your theme files are modified directly, an update will wipe those changes. The tool flags this as a risk.
One limitation: the Site Health tool doesn’t catch all plugin conflicts. Two plugins might work fine individually but clash when active together. The tool won’t detect that. If you’re troubleshooting compatibility issues, a staging site is essential. Beginners or those who want a straightforward setup may find a staging plugin helpful for cloning their site safely.
Best for: Users who need a staging plugin — WP Staging is reliable and widely used. For updates, consider a maintenance plugin that automates the process, but only after testing.
Additional Recommended Tests: What They Tell You
These tests don’t appear on the main Status screen but are accessible through the Info tab. They’re worth checking periodically.
- File Integrity Check: Compares core WordPress files against the official repository. If files have been modified unexpectedly, it could indicate a hack. Run a security scan immediately if this fails. For ongoing protection, consider a website security plugin to monitor file changes.
- Plugin Auto-Updates: Checks if your plugins have auto-updates enabled. This is a tradeoff — convenience vs. risk of a bad update. I recommend auto-updates only for security plugins.
- Background Updates: Confirms that WordPress can apply minor core updates automatically. If this fails, your site might miss critical security patches.
- Site Visibility: Verifies that search engines can index your site. If it’s set to discourage search engines, you might have unintentionally hidden your site.
- HTTPS Status: Checks if your site is served over HTTPS. This is a basic security requirement. If it fails, install an SSL certificate and force HTTPS.
For the file integrity check, running a security plugin like Wordfence or Sucuri can help catch compromises early. These plugins aren’t free, but they’re cheaper than recovering from a hack.
Common Mistakes When Using the Site Health Tool
Even experienced site owners make mistakes. Here are the ones I see most often, with practical fixes.
Mistake 1: Ignoring the Info tab. Many people only look at the Score screen. But the Info tab exposes server settings, active modules, and configuration details. If something fails, that’s where you find the root cause. Fix: get familiar with the Info tab. It’s your debugging dashboard.
Mistake 2: Fixing everything without understanding impact. You see a failing PHP version test, so you update to PHP 8.1. Great. But if your site uses a custom function that depends on an older PHP feature, you’ve broken your site. Fix: always test on a staging environment before making changes. If you don’t have one set up, a WordPress staging tool can help you create a safe testing clone.
Mistake 3: Relying solely on the score. A score of 95 can be misleading. The tool checks for minimum requirements, not performance. You could have a 95 score with terrible image optimization. Fix: combine Site Health with a real performance tool like GTmetrix or Google PageSpeed Insights.
Mistake 4: Not revisiting after plugin updates. A plugin update can change how the loopback test behaves or introduce new compatibility issues. A one-time pass doesn’t guarantee long-term health. Fix: run the Site Health tool after every major update, especially security plugin updates.
Mistake 5: Treating the tool as a set-and-forget solution. Site health changes over time. Plugins get abandoned, PHP versions become obsolete. Fix: schedule a monthly check. Calendar it. 15 minutes every 30 days keeps small issues from becoming emergencies.

Site Health Tool vs. Performance Plugins: Which One Do You Need?
This is a common confusion point. The Site Health tool checks for baseline requirements: security, compatibility, and environment stability. Performance plugins handle optimization: caching, minification, lazy loading, image compression.
Consider this example: a site scores 90 on Site Health. The PHP version is current, the database is healthy, all plugins are updated. But the site loads in 6 seconds. The Site Health tool won’t tell you that. A performance plugin will. Tools like Perfmatters handle script management and caching. W3 Total Cache or WP Super Cache optimize caching. For those who prefer a hands-on approach to optimizing images, an image compression tool can reduce file sizes without quality loss.
When to use each:
- Site Health tool: monthly checks, pre-launch checks, post-update verification.
- Performance plugins: ongoing speed optimization, fixing specific bottlenecks.
You need both. The Site Health tool keeps your site secure and compatible. Performance plugins make it fast. Don’t choose one over the other.
Best for: Users who need a caching plugin — Perfmatters is lightweight and developer-friendly. For image optimization, ShortPixel is a solid choice. Both work well alongside the Site Health tool.
When to Run the Site Health Tool (and When to Skip It)
Here’s a practical schedule:
- After major updates: WordPress core, theme, or plugin updates. Run the tool to confirm nothing broke.
- Monthly maintenance: Set a calendar reminder. 15 minutes a month catches issues early.
- Before launching a new site: Verify the environment meets requirements. You don’t want a failing test on launch day.
- Skip during heavy traffic periods: The loopback test can add a small performance hit. Don’t run it during a sale, a product launch, or high-traffic events.
- Skip on production sites when debugging live issues: If your site is already broken, running the tool might make it worse. Use a staging environment for that.
The Real Bottom Line: What to Do After the Test Passes
A passing Site Health test is the starting line, not the finish. It means your site meets WordPress’s minimum requirements. That’s good — but it’s not enough. Next steps:
- Run a speed test. GTmetrix or PageSpeed Insights will show you real-world performance issues the Site Health tool misses.
- Check for plugin conflicts. Use a staging site to test combinations before deploying.
- Set up a maintenance schedule. Monthly checks, regular updates, and ongoing monitoring keep your site healthy over time.
If managing all of this feels overwhelming, consider a managed maintenance plan. A good one includes automated updates, security monitoring, and regular Site Health checks. It’s an investment, but it saves you from the headache of emergency fixes. Most managed WordPress hosts (like Kinsta or WP Engine) include these services. Or you can hire a freelancer for monthly audits. Either way, consistent maintenance is cheaper than recovering from a hack.